
So, I'll describe my experience, as guides quickly become outdated—what was written at the beginning of the year no longer works, but here is the freshest experience. I will touch on the issue not of how to upload images and in what resolutions to upload them—you can easily figure that out yourself—but we will cover payment, identity verification, etc., as well as testing in Google.
Let's start with debunking myths: "Publishing an app in the App Store is harder than in Google Play, because the latter is a dump, they take anyone and there is no moderation." This is not true at all.
- Apple gives huge, detailed responses in their rejections with specific recommendations on what to fix.
- Apple reviews a publication request in 1-2 days, compared to 7 for Google.
- There are no mandatory testing requirements here (and that's quite an adventure).
Given these features, and if it's not crucial for the app to appear everywhere immediately, I would choose this strategy: Publish in RuStore, then Apple, and then Google.
Publishing in RuStore
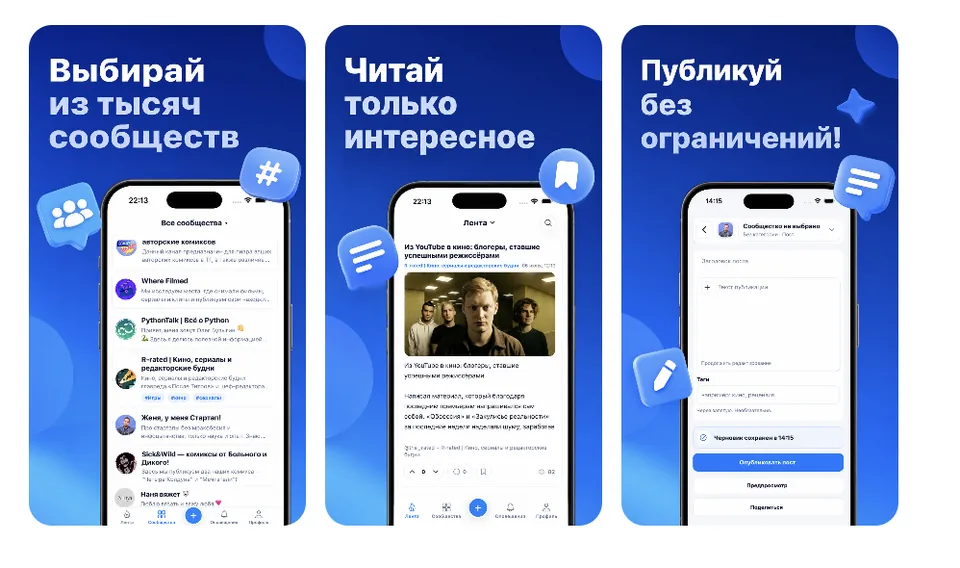
Everything is extremely simple here. You need to go to the developer console. I went through verification via Gosuslugi, then I had to fill out a simple form, create images (by the way, ChatGPT handles them perfectly), generate an APK file, and fill in permissions and descriptions.
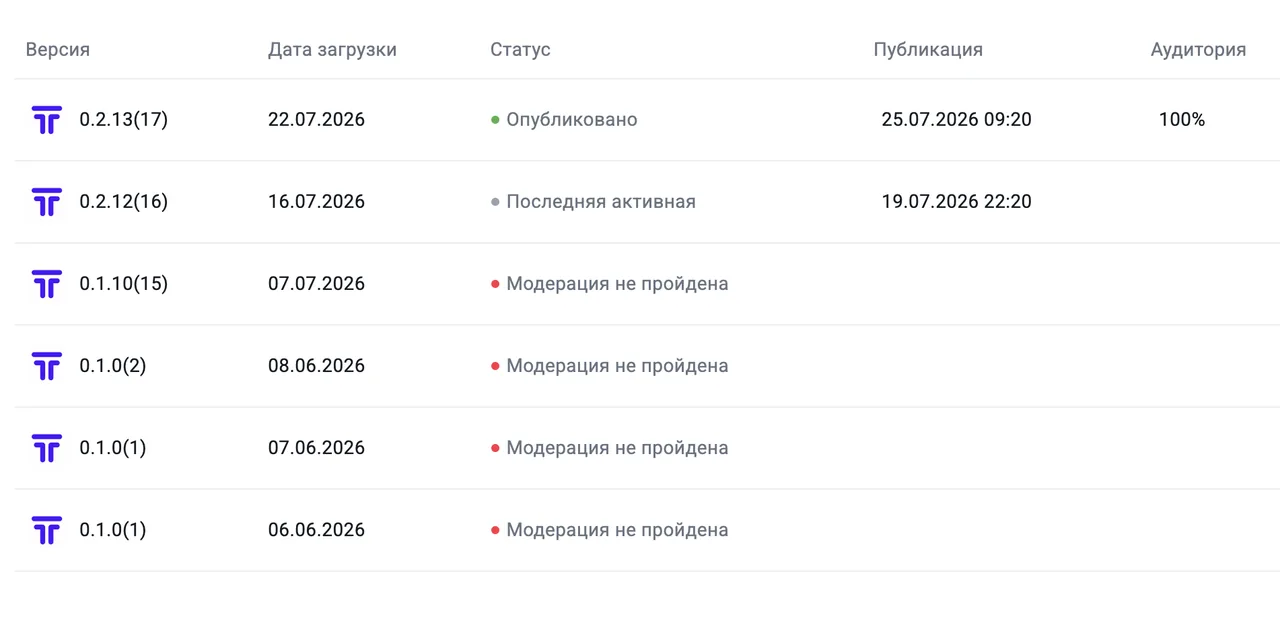
Then you need to wait 1-2 days; they responded to me quite quickly. And get a rejection. The reasons for rejection are written clearly enough, so don't get upset, go fix it and resubmit, and get rejected again because you didn't read and fix carefully. I had errors: "the app name specified in the application is in Russian, but when installed it's in English," and "Google authorization does not work." After fixing all errors, the app was published. The screenshot doesn't display correctly; in fact, the first application was on June 6th, and by the 9th it was published.
Why publish in RuStore at all?
I identified two reasons for myself:
Many people actually use the store, so you need to be there to make the user's path simple and convenient. Also, a few users come just from the store's traffic; in a month, I have about 900 page views of the app not from my links.
Second, I have both versions of the app as vibecode, with a single codebase for both iPhone and Android (React Native). And the sooner I let friends poke at it, the better the app sent to Google and Apple will be.
Registration, Verification, and Publishing in the App Store
To publish an app in the App Store, you need to have an active developer account—it's paid, costing $100 per year, but the main difficulty is not the price, but how to transfer those dollars to Apple. In online guides, everything is confusing and complicated, and it didn't work for me, at least because payments via MTS, Beeline, and Megafon no longer work. So I ignored the instruction that you cannot pay through the website, but must do it through the app. Go to the Apple developer program website, get a virtual card—I used Pay to World, but I understand any will do. I registered with my real data (Russian residence), but in the payment I entered the card details, which is Spain (note that in Google it will be slightly different). After payment, Apple will request a document confirming your identity; I sent my international passport. They are not very interested in payment data; they compare the developer's stated data with the passport; they must match.
Many people enter incorrect data and then get rejected at the verification stage, but there are two options: write to tech support and they will allow correction, or in some cases they refund the money and recommend registering again, but with truthful data.
After that, I waited a few days and received the coveted letter about enrollment in the developer program.
Registration, Verification, and Publishing in Google Play
Here the quest is a bit more complicated than in Apple, but still quite doable. It is complicated by the automatic linking of payment data to your data, as well as a mandatory testing period.
Completing this quest is simple. Go and create a developer account for yourself. Enter real data during registration. When paying, enter the card details (including the card's country, zip code, etc.). I had a virtual card with a Spanish address. I entered it, and then without looking, I sent documents for verification. And then a problem arose: payment data and your place of residence are the same for Google. So Google sent an error that the documents do not match the payment profile. I poked around for a long time and somehow managed to change the payment data in the already submitted application and immediately got approval automatically. But for you, everything will be simpler. When paying, enter the card details; for me it was Spain, all data was provided by the virtual card operator—addresses, zip codes, etc.—I entered them. After the payment goes through, go to settings and change the payment profile. Now enter your real Russian address, all your real data. Google will save your new payment profile. That's it, now send your real documents and get approval.
After that, you will need to go through mandatory closed testing.
I will gladly answer all questions in the comments.
Comments
0No comments yet.
Sign in to join the discussion.